How to Create a Signal Account Step by Step
If you've decided to switch to Signal for its privacy and security benefits, you’re making a smart choice. Creating a Signal account is surprisingly straightforward, but having used it daily for years, I’ve picked up a few handy tips that’ll save you some headaches. Let me walk you through the process of how to create a Signal account step by step, with some real-world insights you won’t find on every blog.
Why Choose Signal?
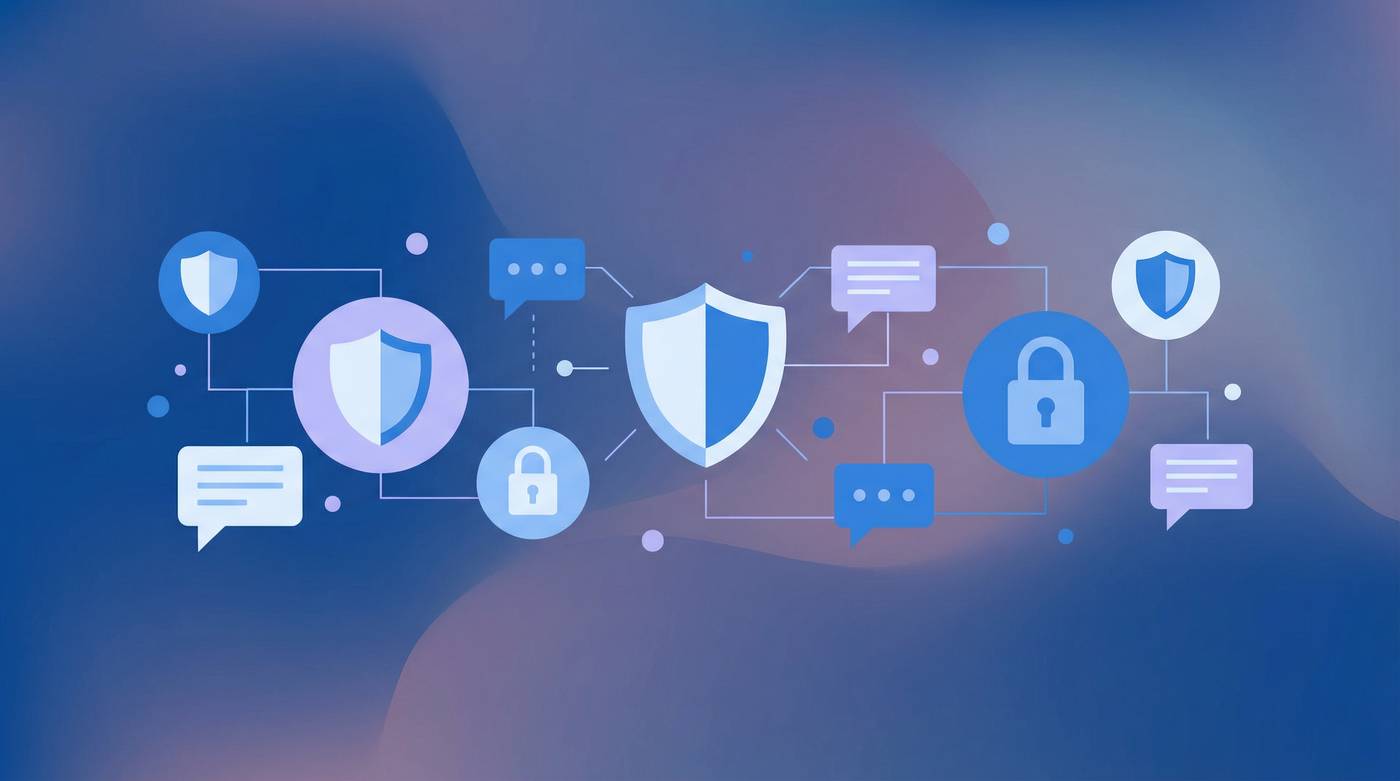
Before we get into the steps, a quick shoutout for why Signal is worth the effort. Signal offers end-to-end encryption, meaning only you and the person you’re chatting with can read your messages. No sneaky data mining, no ads, just private conversations. It’s open-source and recommended by security pros, including whistleblower Edward Snowden. You can read more about their commitment to privacy at signal.org.
How to Create a Signal Account Step by Step
Let’s get right to it. Creating a Signal account is simple, but here’s the full rundown so nothing trips you up:
- Download the Signal App: Head to your device’s app store:
- For iPhone, go to the App Store.
- For Android, grab it from the Google Play Store.
- Or, if you’re on desktop, download the Signal Desktop app from signal.org/download.
- Open the App and Start Registration: Once installed, open Signal and tap “Continue.” You’ll be asked to enter your phone number. This is important because Signal uses your phone number as your identity — not an email or username.
- Verify Your Phone Number: Signal will send a verification code via SMS. Enter the code in the app. Side tip: Sometimes, the SMS doesn’t arrive right away (carrier delays happen), so be patient and use the “Resend code” option if needed. Also, make sure your phone number is entered correctly — even a small typo means no code.
- Grant Permissions: Signal will request access to your contacts and storage. Allow these permissions if you want to sync your contacts for easier messaging and to send photos or files. You can skip, but it limits some functionality.
- Set Up Your Profile: You can add your name and profile picture. This helps friends recognize you but is completely optional. I personally keep mine minimal for privacy.
- Create a PIN: Signal now requires a PIN for registration lock and to restore your settings if you reinstall. Choose a PIN you’ll remember — it can be numbers, letters, or a mix. This step often catches new users off guard, but it’s essential.
Quick Tip:
If you lose your PIN and reinstall Signal, you might lose your message history and contacts who have you saved. So, jot it down somewhere safe or use a password manager.
Additional Tips When Setting Up Your Signal Account
Having used Signal for a while, here are some practical tips to get the most out of your new account:
- Backup Your Chats: Unlike WhatsApp, Signal doesn’t offer cloud backups by default to protect your privacy. But you can create encrypted local backups on Android. On iOS, the only option is to use iCloud encrypted backups for the whole phone. If you’re switching devices, check out Signal’s guide on transferring data at signal.org/android/switch.
- Invite Friends: Signal’s power is in its user base — the more friends you have there, the better. After creating your account, use the “Invite Friends” feature to send SMS invites. It’s a bit ironic since Signal avoids SMS for chats, but this helps grow your secure network.
- Explore Privacy Settings: Signal lets you control who sees your profile photo, last seen, and typing indicators. Dive into Settings > Privacy to customize. Personally, I hide my last seen from everyone — added peace of mind.
- Link Your Desktop App: To use Signal on your computer, you have to link it to your phone. Open Signal Desktop and scan the QR code with your phone’s Signal app (Settings > Linked Devices). This step can be a little clunky if your phone camera isn’t great, so try to clean the lens first!
- Use Disappearing Messages: After setting up, try enabling disappearing messages for sensitive chats. It’s a killer feature Signal provides that auto-deletes messages after a set time, keeping your conversations private without manual cleanup.
Common Minor Quirks When Creating a Signal Account
Honestly, Signal is pretty smooth, but here are some little quirks I noticed when setting up:
- Verification SMS delays: As mentioned, sometimes the SMS code can take a few minutes to arrive, or may even get caught in spam filters. If you don’t receive it, try restarting your phone or switching to airplane mode then back.
- Phone Number Reuse: If you had Signal on a phone number before and are reinstalling, you might need to wait a few minutes after deregistering that number before you can register again.
- PIN Reminders: Signal will periodically ask you to enter your PIN to keep it fresh in your mind. I found this annoying at first, but it’s actually a good way to protect your account.
Wrapping Up: What to Do After Creating Your Signal Account
Now that you’ve created your Signal account following these steps, here’s what I’d recommend next:
- Start a chat: Message a friend who’s already on Signal or invite someone new.
- Explore features: Try voice and video calls, group chats, and stickers — Signal offers a surprisingly rich experience.
- Stay updated: Signal is constantly improving. Keep your app updated and check out their official blog for latest features and security tips.
- 使用默认的生动贴纸包表达情感
- 创建并分享您自己的个性化贴纸
- 所有贴纸在传输过程中均被完全加密
在【signal官网】,我们坚信隐私保护是一项基本人权。这也是为什么我们不断努力,通过社区互动与技术创新,为您提供最安全的通讯体验。今天,我们很高兴地宣布几项重大更新,这些更新将进一步提升您的使用体验。
强大的端到端加密
与往常一样,您的所有消息、语音和视频通话都受到业界领先的开源 Signal 协议的保护。我们无法读取您的消息,其他人也无法读取。这种加密不仅限于文字,还包括您分享的图片、视频和文件。
"隐私并非可选项,它是【signal官网】运作的基础。每一条消息,每一次通话,无一例外。"
社区互动的新方式
通过听取社区的反馈,我们引入了全新的加密贴纸功能。现在您可以:
加入我们,共同成长
【signal官网】是一个由用户支持的非营利组织。我们没有广告,也没有追踪器。我们的发展完全依赖于像您一样重视隐私的人们的捐赠和支持。感谢您与我们一起,为建立一个更安全的数字世界而努力。